Most roofs in Colorado do not fail because of one dramatic event. They fail because something small went unnoticed for two winters.
A lifted shingle. A cracked pipe boot. A gutter that pitched the wrong way after a wet snow. None of those cost much to fix in September. All of them cost real money in February.
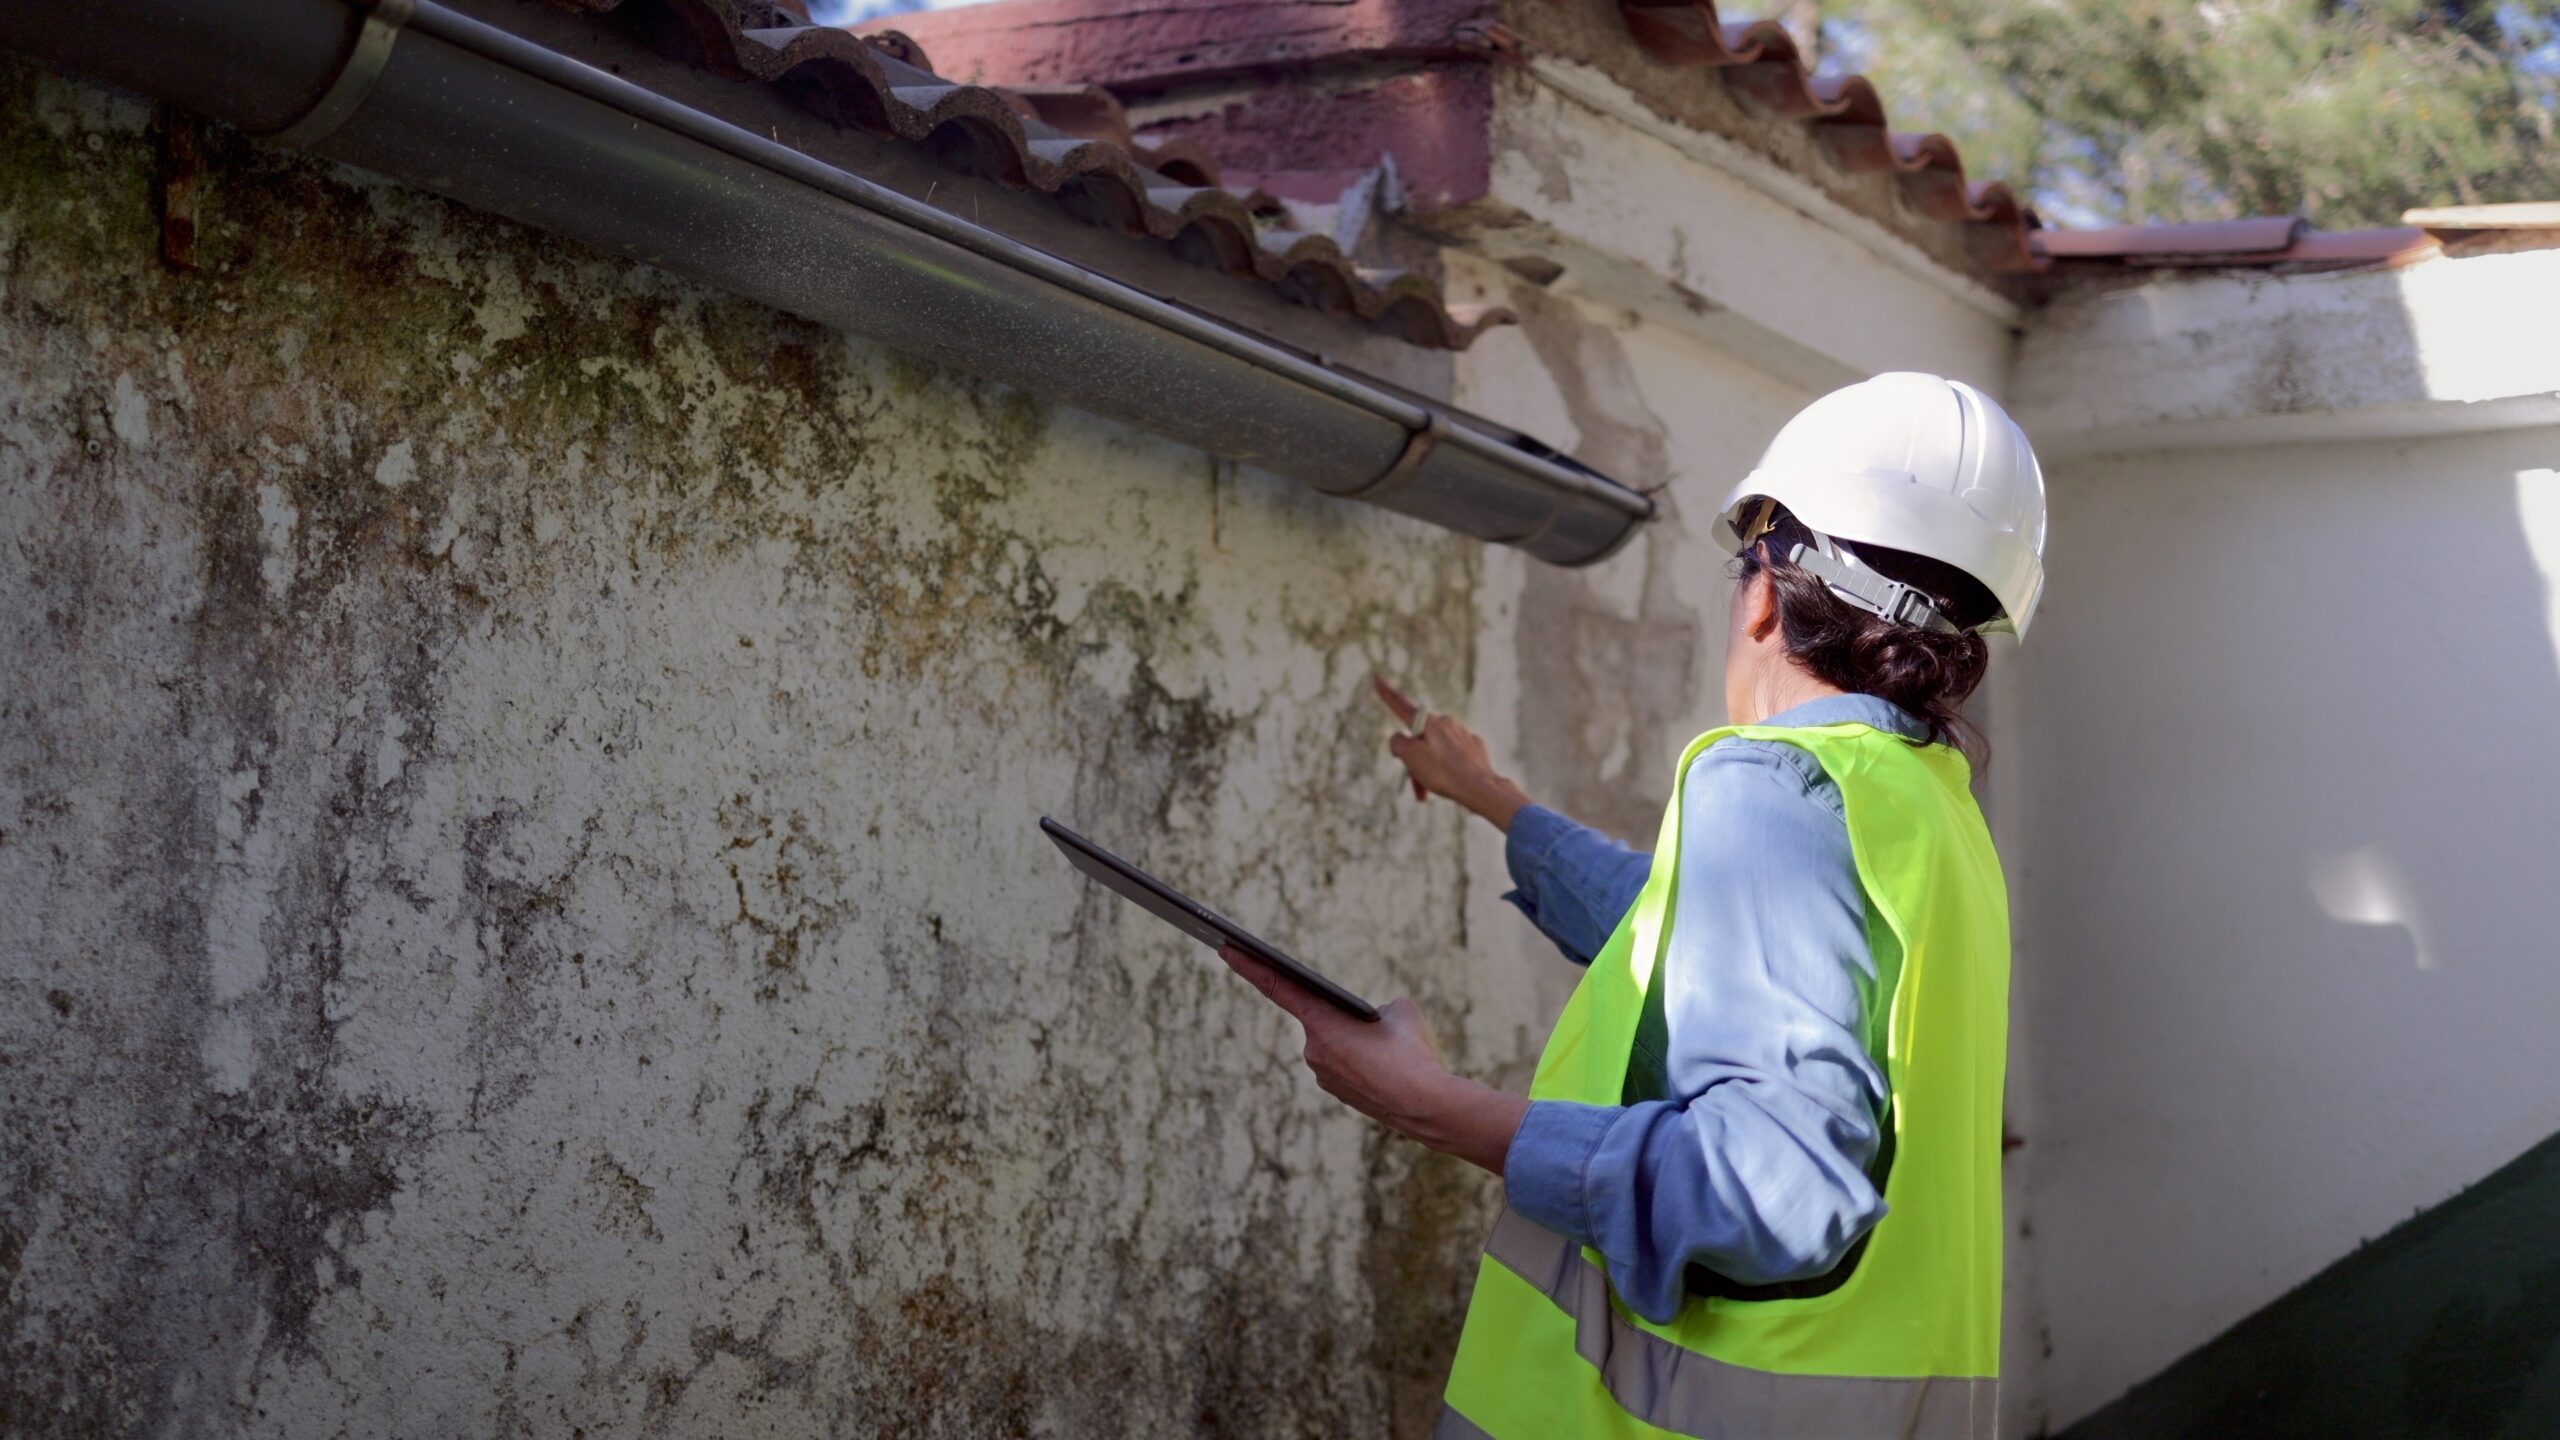
This is the checklist we at MultiPro Exteriors actually use, adapted so a homeowner can run it in an afternoon. You will not need to walk your roof. You will need a ladder, a flashlight, binoculars, and a phone for photos.
Work through it in order. It is built to move from the ground up and inside out, so you are not climbing twice.
Before You Start: Three Ground Rules
Do not walk the roof. Foot traffic damages shingles, and on a steep or wet Front Range roof it is genuinely dangerous. Everything on this list is visible from the ground, from a ladder at the eave, or from inside the attic.
Photograph as you go. Date-stamped photos of your roof in known condition are worth having, whether for a future insurance claim or just for comparison next fall.
Pick a clear, dry day with a low sun. Early morning or late afternoon light reveals surface irregularities that midday sun flattens out.
Why Colorado Shortens Roof Life
Before the list, it helps to know what you are looking for and why our roofs age differently than the same roof in Ohio.
Altitude UV. UV intensity increases roughly 4 to 5 percent for every 1,000 feet of elevation. Denver sits at 5,280 feet, and much of the Front Range sits higher. Asphalt shingles are petroleum products, and UV is what dries out the oils that keep them flexible. This is the single biggest reason a shingle rated for 30 years often does not deliver 30 years here.
Freeze-thaw cycling. Colorado gets an unusual number of days that swing above and below freezing within the same 24 hours. Denver commonly sees well over a hundred of these annually. Every cycle is a chance for water in a small crack to freeze, expand, and make the crack bigger.
Wind uplift. Chinook winds coming off the foothills can gust past 80 mph in Boulder, Golden, and along the western edge of the metro. Wind does not usually rip a whole roof off. It repeatedly lifts shingle tabs, breaks the sealant bond underneath, and leaves them loose. The next storm drives water under them.
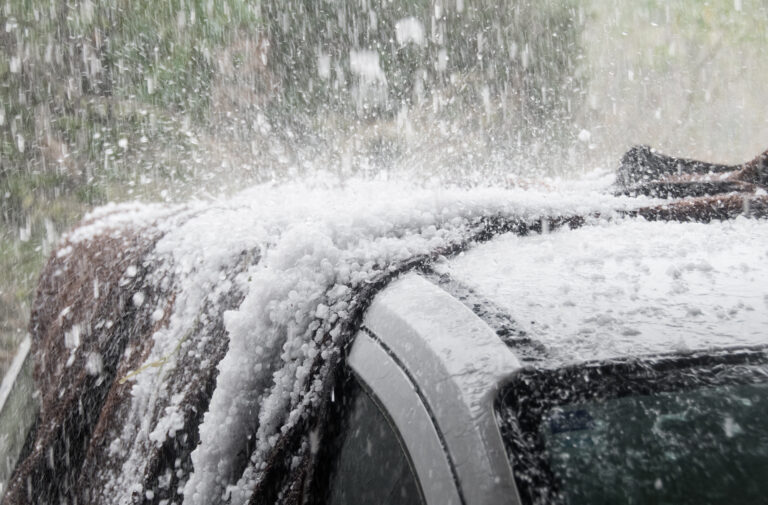
Hail. Covered in detail in our guide to checking your roof at the end of hail season, but relevant here: bruising from a summer storm is exactly the kind of damage this inspection is meant to catch.
Rapid snowmelt. Intense winter sun on a south-facing slope melts snow that then refreezes at the cold eave. That is the ice dam mechanism, and it is why the details at your eaves matter more here than in a consistently cold climate.
Section 1: The Ground Walk
Start at the property line and walk the full perimeter of the house. Look up at each slope with binoculars.
- Missing, cracked, or curled shingles. Curling at the edges means the shingle has dried out and lost flexibility. Widespread curling is an age signal, not a repair.
- Uneven color or dark patches. Thinned granule cover. Compare slopes against each other.
- Lifted or loose tabs. Especially on the windward side, typically west and northwest here.
- Sagging rooflines. A visible dip or wave in the ridge or field is a structural concern, not a surface one. Stop and call somebody.
- Debris accumulation in valleys or behind chimneys.
- Overhanging branches. Anything touching or within a few feet of the roof needs trimming before it is loaded with snow.
- Granules at the base of downspouts. A small pile in the splash zone tells you the roof is shedding.
Also look at your siding, window frames, and screens while you are down here. Storm damage rarely limits itself to the roof.
Section 2: The Ladder Check at the Eave
Set the ladder on level ground, extend it three feet above the contact point, and stay off the roof surface.
- Gutter interior. Scoop out debris. Look for a coarse black sand, which is granule loss. Note how much and which slope it came from.
- Gutter pitch and separation. Water should run toward the downspout with no standing pools. Check for gaps at seams and corners.
- Fascia and soffit. Probe fascia with a screwdriver. Soft or spongy wood means water has been running behind the gutter. Look for peeling paint and staining on soffits.
- Gutter fasteners. Loose spikes or pulled hangers will not survive an ice load.
- Drip edge. There should be metal flashing at the roof edge directing water into the gutter. Missing drip edge is a common shortcut on older Front Range roofs.
- First course of shingles. From the ladder you can see the eave shingles clearly. This is where ice dam damage concentrates.
If the gutters are separated, sagging, or pitched wrong, get that handled before winter. Gutter repair and installation is cheap compared to fascia replacement and foundation seepage.
Section 3: Flashing, Valleys, and Penetrations
This is where the majority of roof leaks actually originate. Not the field of the shingles, but the transitions. Use binoculars from the ground or a ladder view where safe.
- Valleys. The V where two slopes meet carries the most water on your roof. Look for exposed metal, cracked sealant, debris packing, and worn granules along the centerline.
- Chimney flashing. Check the step flashing along the sides and the counterflashing where metal enters the masonry. Cracked or crumbling mortar joints, gaps, and failed sealant are all common.
- Pipe boots. The rubber collars around plumbing vents are the most reliable failure point on any roof. UV cracks them, usually around year 10 to 15. A cracked boot is a small repair with an outsized consequence.
- Roof vents and turbines. Check for dents, loose fasteners, and lifted flashing.
- Skylights. Look for failed seals, cracked glazing, and staining on the interior frame.
- Wall transitions. Anywhere the roof meets a vertical wall, such as dormers and second-story walls, needs proper step flashing rather than a bead of caulk.
If your roof is over 12 years old and nobody has replaced the pipe boots, that is worth asking about specifically.
Section 4: The Attic
The attic tells you more about your roof than the shingles do. Go up on a bright, clear day.
- Turn off your flashlight and let your eyes adjust. Any daylight through the decking is a penetration.
- Staining or streaking on the underside of the decking or on rafters. Dark trails indicate past or active water.
- Damp, matted, or compressed insulation. Wet insulation stops insulating and does not recover.
- Rusty nail tips. Usually condensation from poor ventilation rather than a leak, but both need fixing.
- Musty odor or visible mold on sheathing.
- Insulation depth and coverage. Gaps, especially over exterior walls and around can lights, drive ice dams.
- Ventilation path. You should have intake at the soffits and exhaust at or near the ridge. Confirm insulation has not been pushed into the soffit vents and blocked the intake. This is extremely common and it is a direct cause of ice dams.
- Bathroom and kitchen fan ducts. They must vent outside the building, not into the attic. Venting into the attic dumps moist air onto cold sheathing all winter.
Section 5: Interior Ceiling Clues Most People Miss
Walk your top floor in daylight with the lights off. You are looking for things that do not announce themselves.
- Faint discoloration on ceilings, particularly in corners, along exterior walls, and around ceiling fixtures. A dried water stain is often yellow-brown and barely visible.
- Bubbling, flaking, or hairline cracking in ceiling paint.
- Nail pops or seam lines showing through drywall.
- Stains around skylight and chimney chases.
- Bathroom ceilings specifically, since fan and vent penetrations concentrate there.
- A room that is noticeably colder than the rest of the floor, which can point to wet or displaced insulation.
Press gently on any suspect area. Softness means active moisture.
What You Can Fix Yourself and What Needs a Pro
Reasonable homeowner tasks. Cleaning gutters and downspouts, as long as the house is single story or you have safe access. Trimming small limbs that are not over the roof or near power lines. Clearing debris from the edges of valleys from a ladder. Adding attic insulation, if you are careful about soffit baffles and do not block the ventilation path.
Borderline, and only if you are honest about your own comfort level. Replacing a few blown-off shingles is achievable on a single-story home with a low pitch if you have matching shingles on hand. In most other situations, hire it out. Cold shingles are brittle, and the repair often creates more damage than it fixes.
Call a pro. Any pipe boot work, because sealant is a stopgap and boots should be replaced rather than patched. All chimney flashing and counterflashing. Any valley or wall flashing work. Anything requiring mid-roof access. Ice-and-water shield at the eaves, which can only be installed during a roof replacement. And anything structural, including a sagging ridge or a soft spot underfoot, which needs attention immediately rather than at your convenience.
The honest rule: if the fix involves flashing, sealant as the primary defense, or a slope you would not comfortably stand on, it is not a homeowner job. Roof work looks simpler from the ground than it is.
How Often Should You Inspect Your Roof in Colorado?
Twice a year is the standard answer, and it fits our climate well.
Fall, before the first freeze, is the important one. This is the checklist above.
Spring, after hail season begins and after the last hard freeze, catches winter damage and storm impacts.
Add an inspection after any significant hail or high-wind event, regardless of season. And if your roof is past 15 years old, a professional look annually is reasonable, since replacement is far cheaper to plan for than to react to.
What Roofers Actually Look For During an Inspection
A professional inspection covers what you cannot reach, and a good one is methodical rather than fast. Expect:
- A walk of every accessible slope with test squares marked and counted
- Photographs with a size reference on each impact or defect
- Flashing, valley, and penetration assessment up close
- Decking condition felt underfoot, since soft spots mean rot
- Attic and ventilation review
- Gutter, fascia, siding, and window inspection
- Remaining service life estimate with reasoning
- A written report with photos, delivered to you
If someone spends ten minutes and hands you a quote instead of a report, that was a sales call.
What to Do With What You Found
Sort your findings into three buckets.
Fix before winter. Cracked pipe boots, failed flashing sealant, gutter pitch and separation, blocked soffit vents, missing shingles, overhanging branches, and any active leak. These are inexpensive now and expensive in January.
Plan for spring. Widespread curling, significant granule loss, a roof at end of life, insulation upgrades, and cosmetic siding work. If your roof needs replacing but is not leaking, you have time to get multiple written estimates and do it properly.
Monitor. A single dried stain with no current moisture, minor granule loss on an eight-year-old roof, small cosmetic dents.
If your list is mostly in the first bucket, get a professional set of eyes on it before the weather closes the window. We provide free written roofing inspections across Denver, Aurora, Lakewood, Thornton, Littleton, Centennial, Parker, Highlands Ranch, Castle Rock, Boulder, Broomfield, and Golden, with the report and photos whether we find anything or not.
Get a written estimate or a second opinion on what you found.
Frequently Asked Questions
How often should you inspect your roof?
Twice a year in Colorado, once in fall before the first freeze and once in spring after the last hard freeze, plus after any major hail or wind event. Roofs older than 15 years benefit from an annual professional inspection.
What do roofers look for during a roof inspection?
Shingle condition and granule loss, flashing at chimneys and walls, valley integrity, pipe boots and vent penetrations, decking firmness, attic ventilation and insulation, and gutter and fascia condition. A complete inspection produces a written report with photographs.
How long do roofs last in Colorado?
Shorter than the manufacturer rating in most cases. High-altitude UV, frequent freeze-thaw cycling, chinook winds, and hail all shorten service life relative to milder climates. Actual lifespan depends heavily on slope orientation, ventilation quality, and hail history.
Can I inspect my roof myself?
You can complete most of a meaningful inspection from the ground, a ladder at the eave, the attic, and your top-floor ceilings. Do not walk the roof surface. Flashing details and mid-roof conditions require a professional.
What is the most common cause of roof leaks?
Flashing and penetrations, not the shingle field. Cracked pipe boots, failed chimney flashing, and valley problems account for a large share of the leaks we repair.